A friend gave me a warming tray and some brief instructions on how to do hot crayon art.
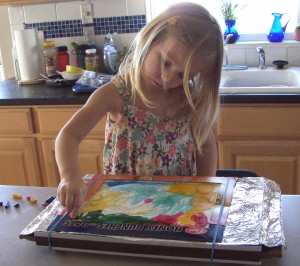
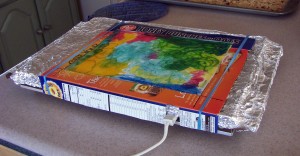
When I first tried it, the paper moved around a lot, so I had to make a “jig” so that both I and our grandchildren would be able to do the craft without burning our fingers. I found a big cereal box in the recycling bin and cut it to fit, then attached it with big fat rubber bands. I assume the rubber bands may need to be changed from time to time because of the heat. The paper is taped to the back of the “jig”. It works well! I did have to cut the first paper we did out as the tape I used stuck, but after that the pages and tape came off the old tape without having to cut it out.
With the jig, even our 3 year old granddaughter was able to do this craft by herself and I was very comfortable with the safety factor.
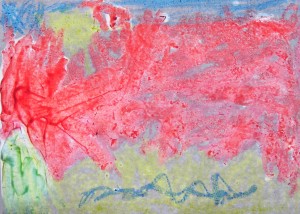
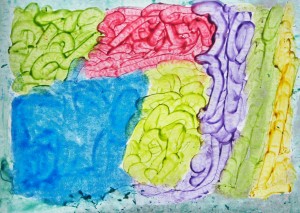
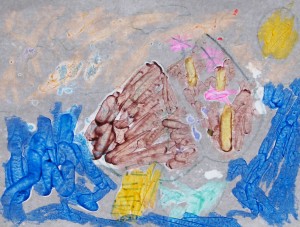
Here are her first results:
You can probably see some of her “letter work” shining through as we reused a “grandma school” paper for this picture.
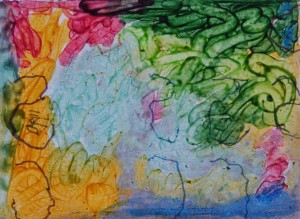
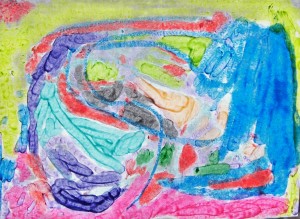
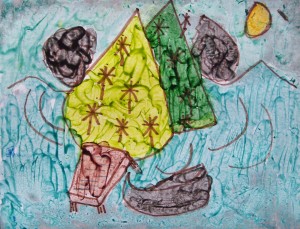
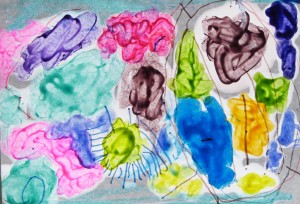
These were the first attempts of our older grandchildren:
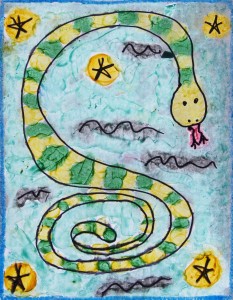
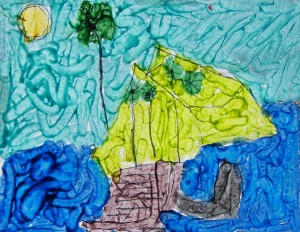
Then we tried drawing pictures with outlines to fill in with our hot crayon art. Here are some of those results:
Tips for this craft:
Let the warming tray warm up for 5-10 minutes before starting to color.
Hold the crayon by the pointiest end and push down on the flattest end for the best effect.
Use up your old broken crayons first and take all the paper wrappings off of them.
Lots of melted crayon gives a fingerpainting effect.
If desired, use any dark marker (before putting the paper on the warming tray) to make outlines to fill in with hot crayon.
Make your marker drawings well within the jig border frame.
Help your paper cool/dry flat and hang on a window for a beautiful translucent effect.
tags: hot crayon craft, used old crayons, crayon craft, hot crayon picture, warming tray craft, warming tray art, old crayons,

